Adding GPS Coordinates to your SeekBeak Tour

SeekBeak automatically reads the GPS data encoded in the EXIF data embedded in your image, and depending on your preferences can use that latitude / longitude information to plot out the location on our integrated Google Mapping solution.
However, if your camera doesn't capture GPS location data, or if you have edited the photo in post-processing and accidentally cleared that data attached to your photo, there is still an easy way to find the GPS coordinates using Google Maps, which you can then add to your Snap manually.
Here's how to do it:
From any web browser open the Google Maps website.
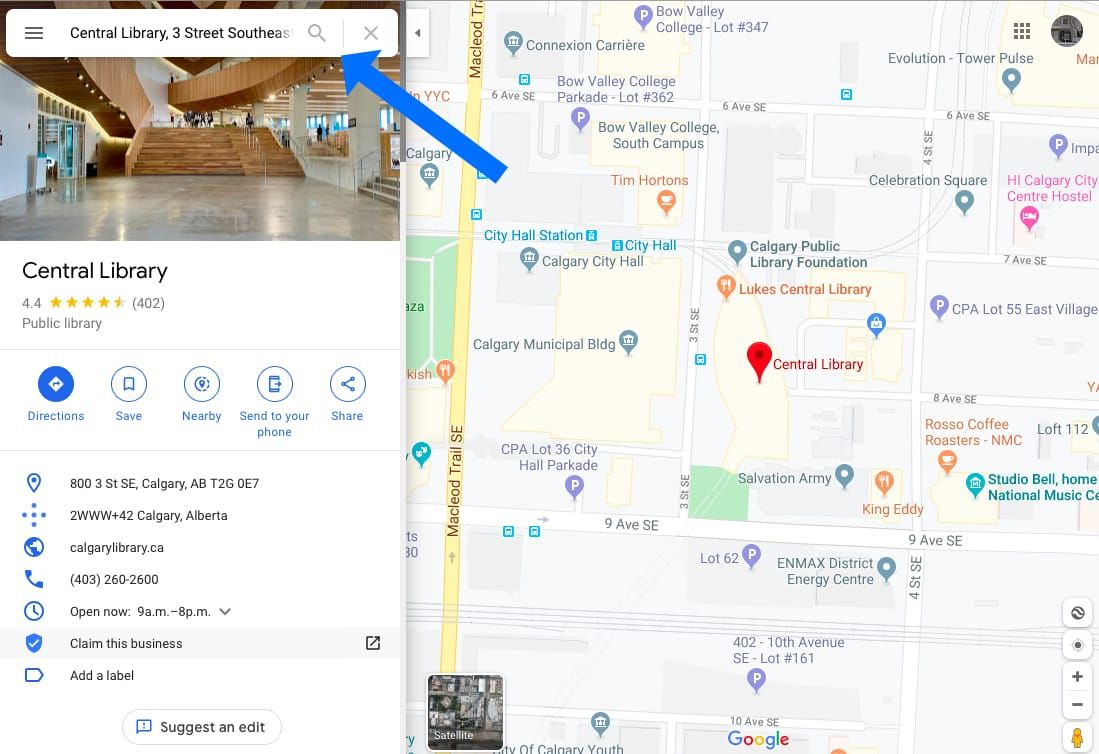
Type in the location you want the GPS coordinates for. An example here is the Central Library, Calgary, AB Canada.

Right-click on the location and select "What's here?" from the menu.
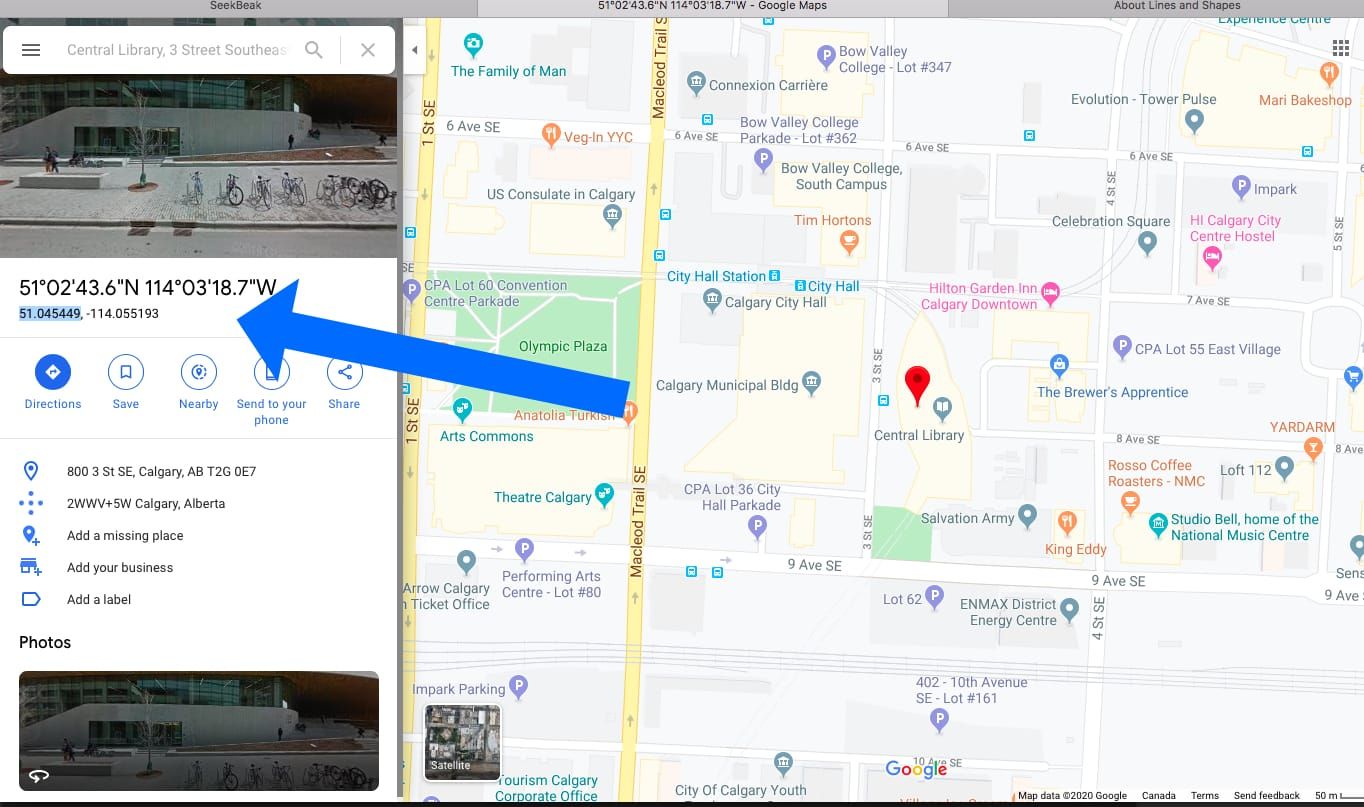
The GPS coordinates pop up at the bottom of the screen.
Click on the coordinates and they will open up in a new destination panel.
Snap Properties -> Details
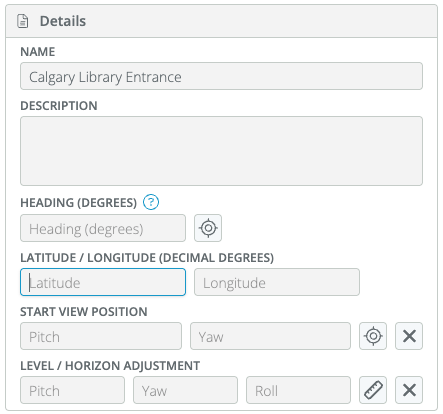
Now go to SeekBeak and open the Snap you want to add the GPS Coordinate data to.
Open up the Properties menu once editing your Snap, click the Details tab, and paste the Latitude and Longitude coordinates!
Snap Properties -> Preferences
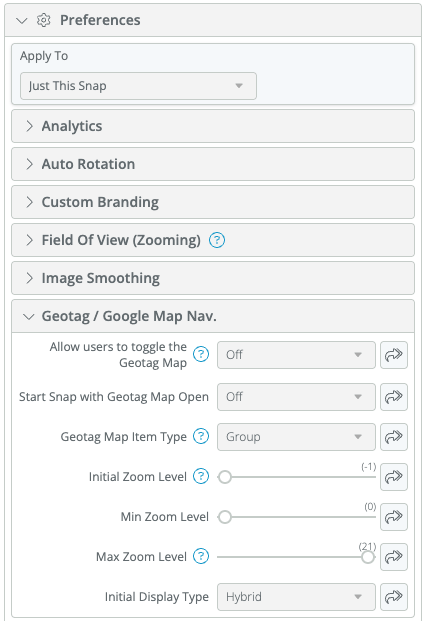
If you want to change your Geotag / Google Map preferences, open up Preferences tab while still in the Snaps Properties area, and click the features you want to enable.
Voila! You have successfully added GPS Coordinates to your image in your SeekBeak tour!
For more maps tips see our Blog post here: GPS, Geo Tag and Mapping Solutions for 360 Photos