How to Create A Virtual Tour For Real Estate
To create a virtual tour for real estate, you upload 360° photos of a property to a virtual tour platform, link the rooms together with clickable hotspots, then share the finished tour as a single link or embed it in your listing. This guide walks through every step in SeekBeak, a no-code virtual tour platform that agents have used since 2014 to turn ordinary listing photos into interactive, walkable property tours, with no software to install and no special camera required.
A virtual tour does what a gallery of flat photos can't: it lets a buyer move through the home at their own pace, look in any direction, and understand the layout before they ever book a showing. Listings with an interactive tour hold attention longer and help pre-qualify buyers, so the people who do schedule a visit tend to be more serious. That is exactly why virtual tours have become the MVP of real estate sales.
Unlike a static photo set or a PDF brochure, a SeekBeak tour is fully interactive. You can drop hotspots that jump from room to room, add a floor plan so viewers always know where they are, embed a video or contact form right inside a room, and even see exactly where people looked using built-in analytics. If you want the bigger picture first, see our overview of real estate virtual tours and how SeekBeak compares as virtual tour software.
We created this guide with Real Estate agents in mind, but the steps work just as well for anyone who is looking to create a virtual tour!
Things You'll Need:
- Some 360° or panorama photos of the space you want to show
- Any information that you want to share with your viewers
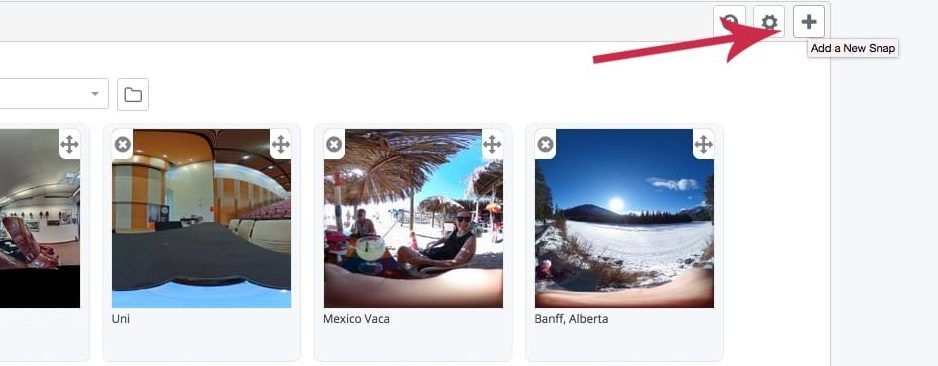
Step 1: Upload Your 360° Photos Into SeekBeak
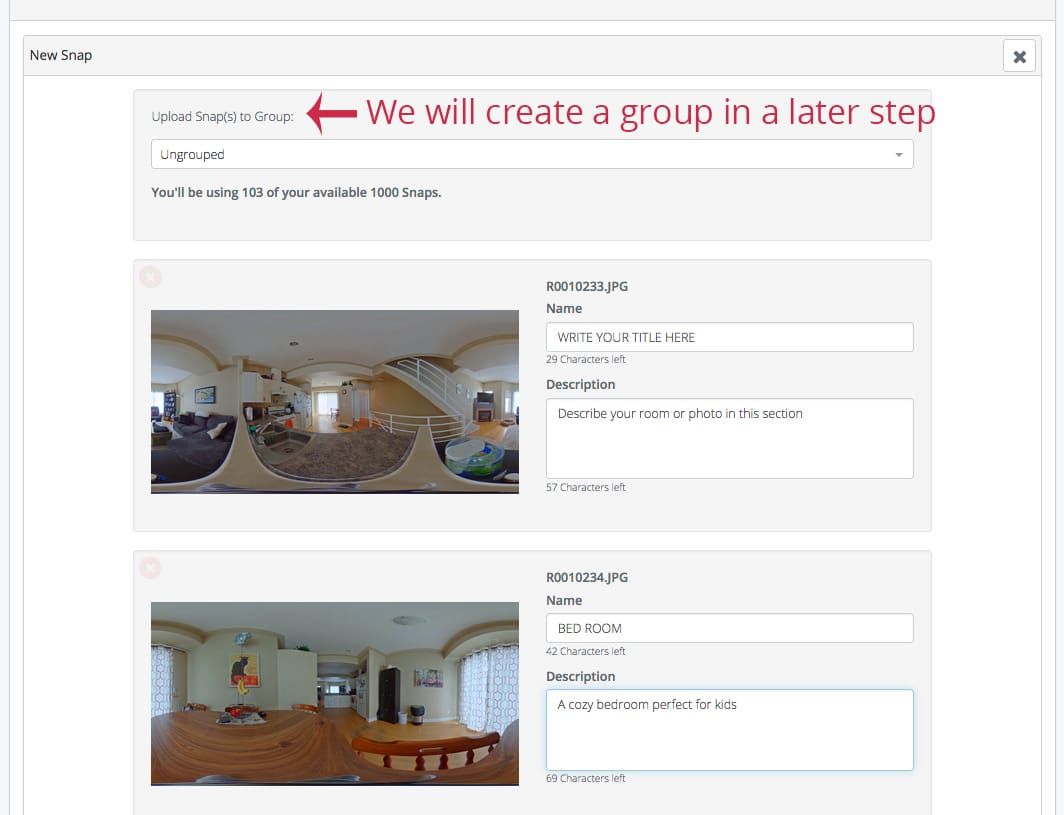
Once you sign into SeekBeak, you can add new photos (called Snaps) by clicking the "plus" button in the right corner of the screen. SeekBeak hosts the images for you and supports 360° photos up to 16K resolution, so even large, detailed rooms stay sharp.
Step 2: Link Your Photos Together With Hotspots
Hotspots are the clickable points that turn a set of separate photos into a single, walkable tour. In SeekBeak you can use them to jump between rooms, open a photo or video, show text, dial a phone number, or display a contact form, all without code.
Click a Snap and you'll enter the viewer mode of SeekBeak.
In the bottom navigation bar, click Edit to enter edit mode, and start adding hotspots. Add a hotspot wherever you'd like.
In the hotspot menu look for the "Type" icon.

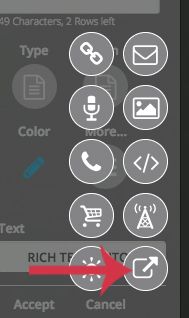
In this section, you'll be able to select the Group and Snap from which to jump to
After you've selected the Snap, close the editor and save your changes using the bottom menu. Your photos are now linked together! Here's a demonstration: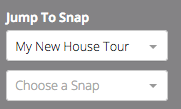
Step 3: Customize the Text, Icon, Colour, and More
One of SeekBeak's handiest features is customizing each hotspot! You can change icons, text, colours, and animation, upload your own custom icons, and even match the look to your brand so the tour feels like part of your listing, not a generic widget.


BONUS STEP: Put your Snaps in a Group
While you don't need to organize your Snaps by group, it's a handy feature for keeping track of each address or location that you're making a tour out of! Remember, groups are mainly just for organization, you're able to link any Snap from any group for a tour.- Click the drop-down menu in the top left corner of the Dashboard and select Groups
- Open the Add Groups Tab and Input Your Title
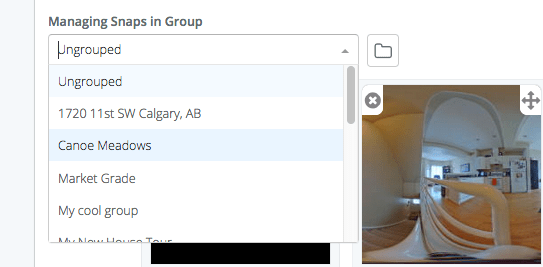
- Once you've created the group, head back to the Snaps area using the drop-down menu
- Click the "Folder" button next to the Group selection tab. This will give you the option to move each Snap into your Group
- Using the dropdown boxes that appear under each thumbnail, simply choose the group you want to add the Snap to, and it is moved into that group instantly.
Bonus Step #2: Add a Map / Floor Plan (Paid Accounts Only)
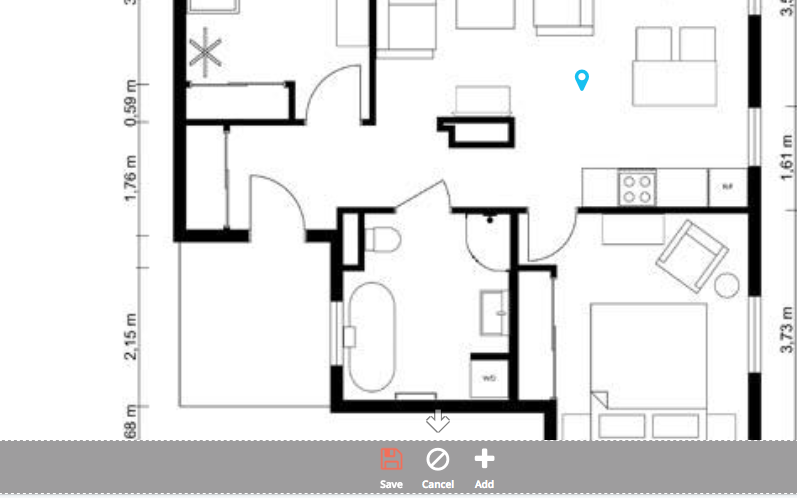
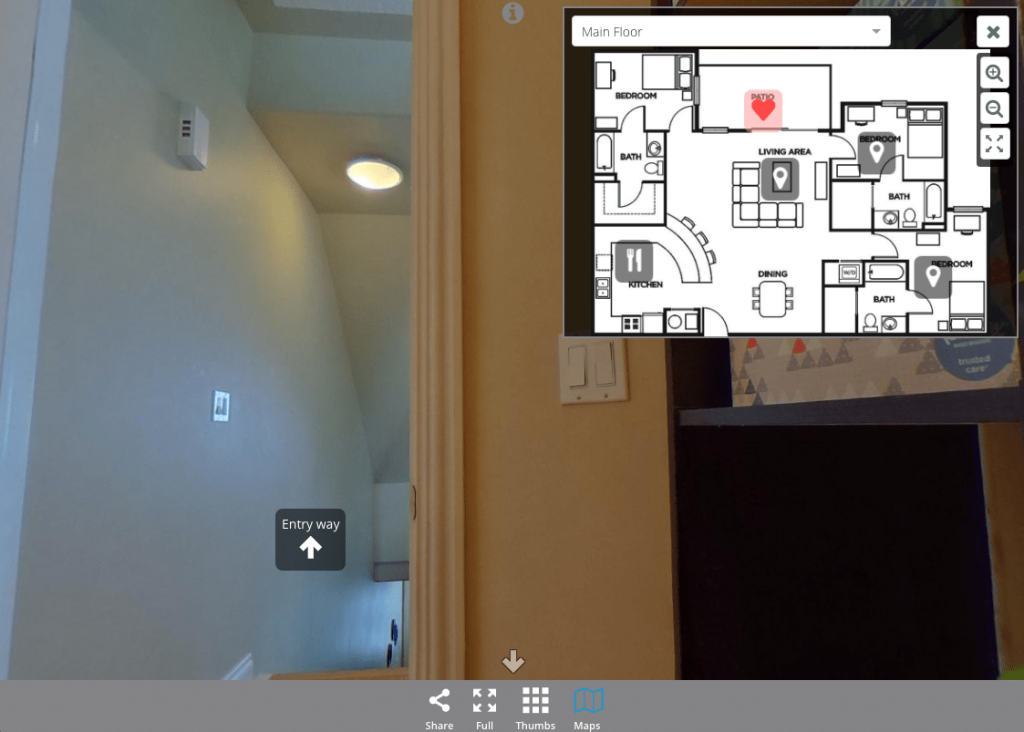
Did you know you can add floor plans, or other 2D images, to help people navigate through your tour? We call them Maps and they are easy to add. For real estate, a floor plan is especially useful: viewers can see exactly where they are in the house and how the layout flows between floors. Here's a full walkthrough on how to add a 2D map or floor plan to your virtual tour.
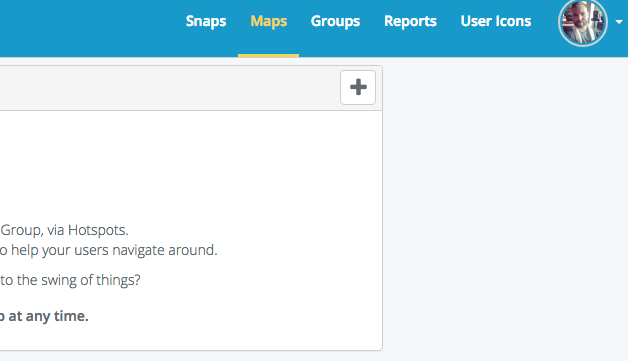
To add a Map to a Group of Snaps, select the Map option in the top left drop-down in the Dashboard.
How to Make a Virtual Tour of a House: Quick Recap
That's the whole workflow. To make a virtual tour of a house for a real estate listing in SeekBeak:
- Upload your photos as Snaps.
- Link the rooms together with Jump hotspots.
- Customize the hotspots with your own icons, colours, and text.
- Group your Snaps by property, and add a floor plan so buyers can orient themselves.
- Share the tour as a link, a QR code, or an embed on your listing or website.
Frequently Asked Questions
You can make one with a no-code, browser-based platform. With SeekBeak you upload your photos, link them with hotspots, and publish, with no software to install and nothing for your viewers to download. You don't even need a 360 camera: SeekBeak adds interactivity to ordinary flat photos too, so you can build a tour from the normal listing pictures you already have and add 360° shots later if you want.
No. Unlike tour systems that require a proprietary 3D camera, SeekBeak works with the photos you already have. You can build a tour entirely from flat (regular) photos, use 360° panoramas, or mix both, and you can even fold in 3D models and Gaussian Splat scans where they suit the property. That makes it a practical, affordable option for individual agents and small agencies who want professional-looking tours without buying special hardware.
Every SeekBeak tour has its own link, QR code, and embed code. You can drop it into your own site, share it on social media, or place it on listing portals. See our guide on how to embed a 360 tour in WordPress, Squarespace, and other websites. You can also toggle features with URL parameters to stay within MLS rules.
Yes. Add a 2D map or floor plan to a group of Snaps and viewers can click between rooms and always know where they are, which is one of the most requested features for property tours.
A basic viewer just spins a photo. SeekBeak turns it into an interactive experience: linked rooms, branded hotspots, embedded video and lead-capture forms, floor plans, live guided tours you can run remotely with a buyer, and analytics that show which rooms got the most attention. It's a full 360 virtual tour creator, built for sharing and lead generation, not just viewing.
You can use SeekBeak, a browser-based virtual tour platform built for this. Upload your 360° or ordinary listing photos, connect the rooms with clickable hotspots, add floor plans and a lead-capture form, then publish the tour as a link or website embed. Nothing installs for you or your viewers.
Key Takeaways
- Anyone can build one. SeekBeak is a no-code, 100% browser-based platform, in business since 2014 and used by everyone from solo agents to Fortune 50 teams.
- No special camera needed. Flat photos, 360° panoramas, 3D models, and Gaussian Splats all work, and you can start free with up to 3 photos.
- Interactivity is the point. Hotspots, floor plans, embedded forms, and analytics do what flat photos and PDF brochures can't.
- Built to share. Publish once and distribute by link, QR code, or embed, and update the tour anytime without re-sending files.