Level the Horizon of 360º Images & Panoramas, not Losing Quality
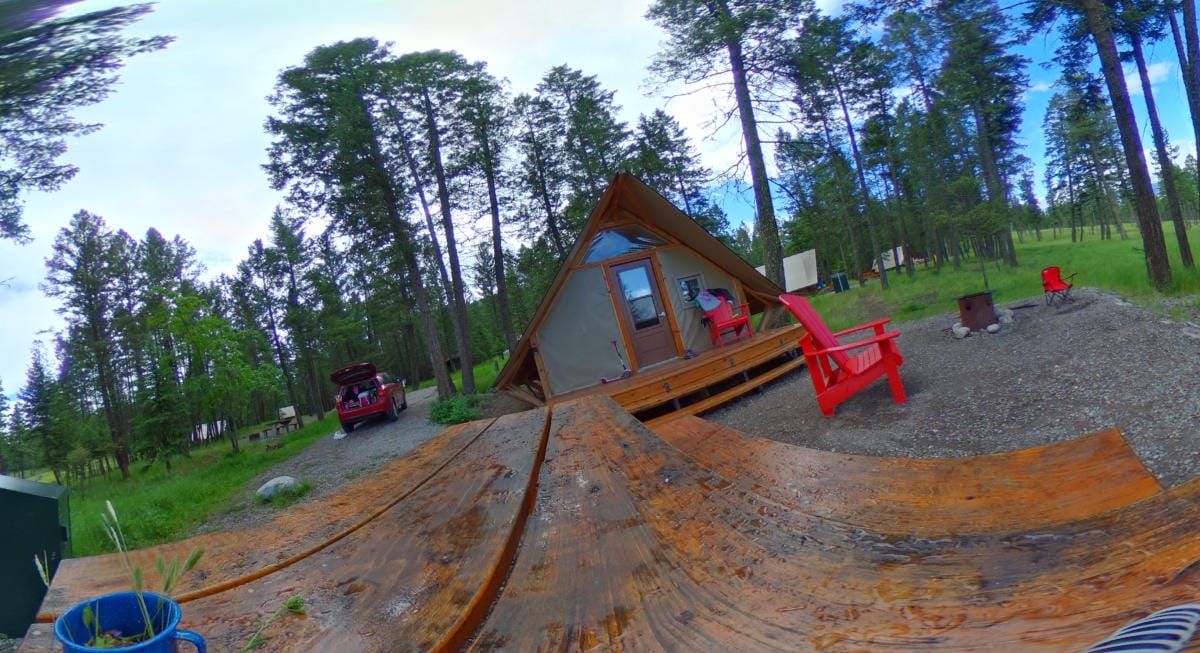
Using our new non destructive image leveling tools make it easy to fix any axis roll offsets, or horizon level issues with your 360º images, panoramas and virtual tours.
As it's a non destructive process, your image isn't ever re-saved or re-compressed, keeping the original pristine file intact.
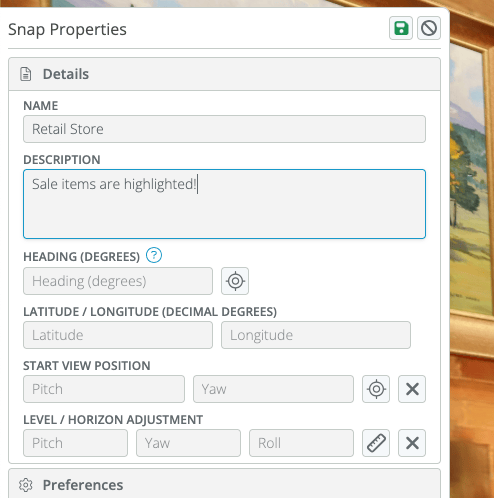
You can find the area in your Snap Properties under the "Details" tab.
The Level / Horizon Adjustment Area in the Snap Properties
For a quick tutorial, check out this video:
Once you're editing the Snap you want to adjust, open up the Properties panel by clicking the "Properties" button in the menu bar. Under the Details header, you'll find the area for Level / Horizon adjustment. You can input your own coordinates here or, or more likely, you'll just click on the ruler icon and adjust it visually.
SeekBeak's Non Destructive Horizon Adjustment Tool
In this video, you can see the leveling grid and the circular arrow for fine tuning. Click on the circular arrow and hold it down, now you can adjust the level to your preference.
We show how dragging the mouse far away from the wheel allows for very precise adjustments, and dragging closer to the wheel for more coarse adjustments.
You can also pan the image around while adjusting, this will allow you to rotate around a different pivot point, allowing you to fix even the worst image alignment issues.
#Protip: Find some straight lines in your image and align them with our build in leveling grid.
Once you're happy, save your changes, and you're done!