Today we’d like to focus on an often overlooked feature of our platform: the Group Info Panel.
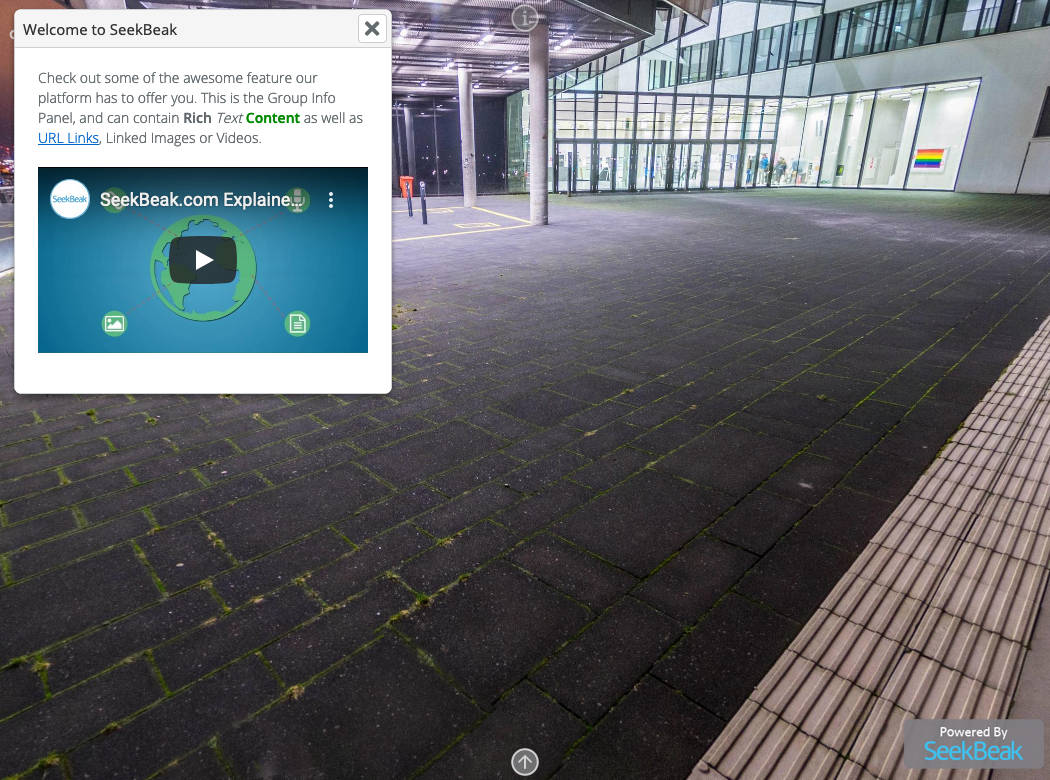
As you can see in the example above, this Snap has a box in the top left corner that can be customized to include any information that you see fit. This is the Group Info Panel and it can be displayed on any Snap within a given Group. If you’re unsure how Groups work, check out our article on them.
Examples of uses of the Group Info Panel include:
- Real estate agents put their contact details in this section so that users can access it from every photo in the group/tour without clicking a hotspot.
- Companies can place a link in this box to lead back to their website.
- Important context or location information can be added so that users know where they are.
You can set this Group Info Panel to display by default or to be accessed by pressing the three dots in the top right corner.
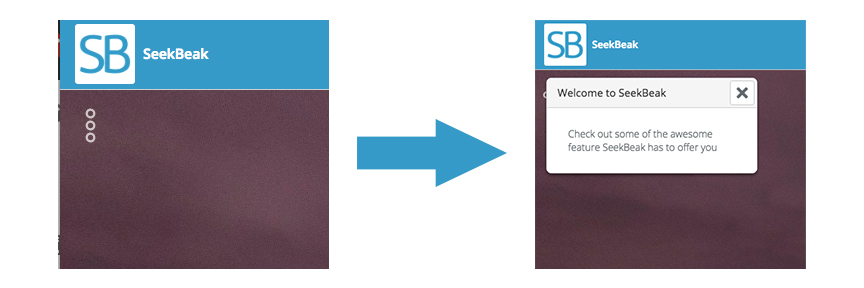
If you’d like to add a Group Info Panel to your tour, follow the steps below.
Adding a Group Info Panel to Your Tour
Step 1: Navigate to the Group Menu tab in the main menu and select a group you wish to add a description too. Once you’ve selected a group, input your description and group name into the infoboxes.
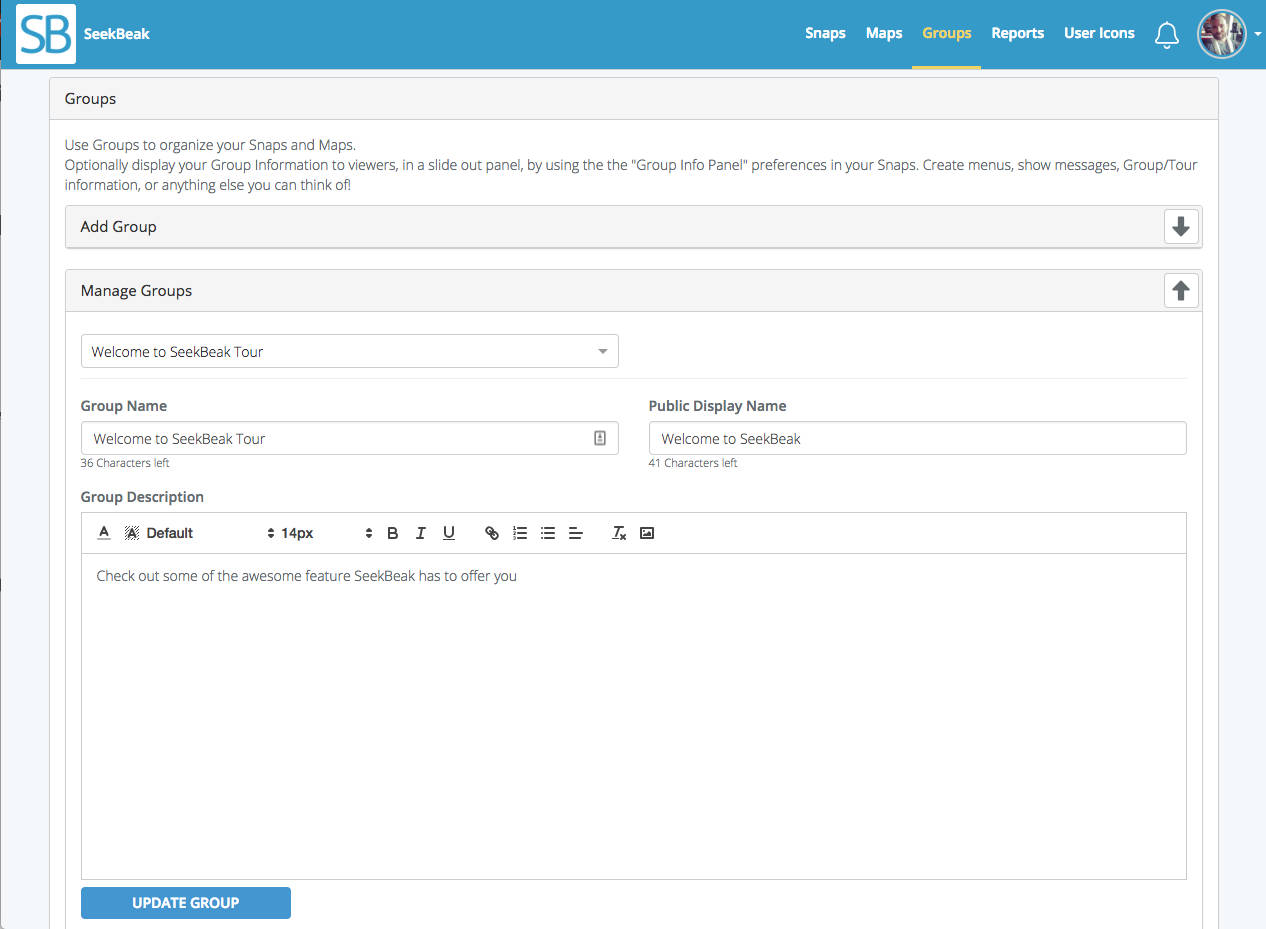
Step 2: After you’ve added a Group description, open up any Snap that is located within the group, open up the Properties, and open up the Preferences option.
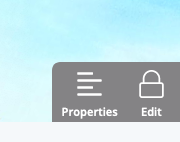
Step 3: Once you’re in Preferences, select the Group Info Panel setting and select each option to be “on”
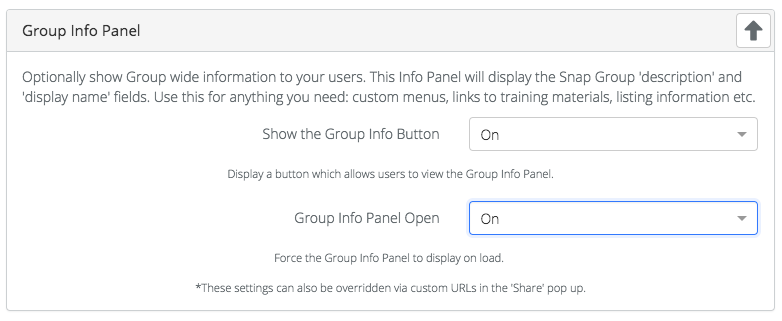
Step 5: Your Snap will now have the Group Info window open whenever it is loaded. Repeat this last step with each photo you want this to happen, or change your default Snap Preferences account wide using the settings option in the Snaps section of your menu.
