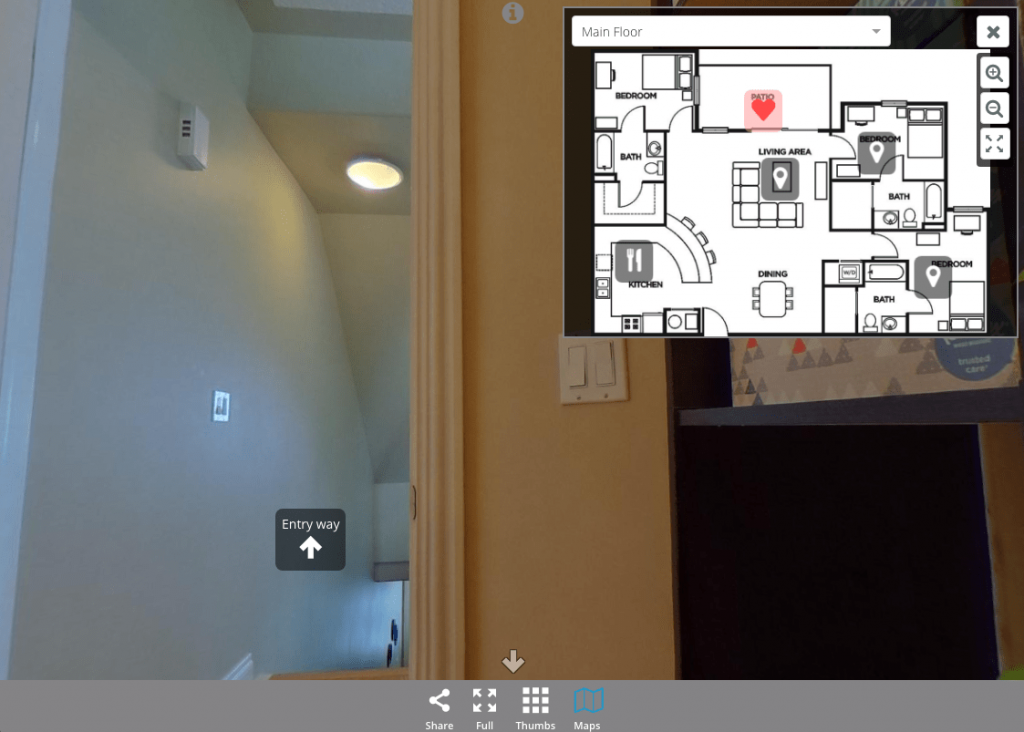
Did you know you can add floor plans, maps, or other 2d images to help people navigate through your 360 photo or virtual tour? We call them Maps and they are easy to add to your groups of photos. Viewers can use it to help understand where they are in the house or how the layout between floors changes.
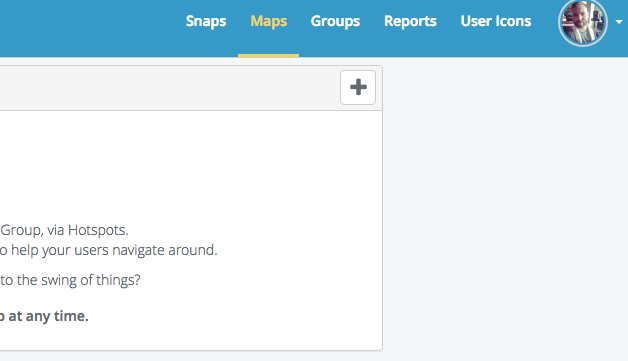
To add a Map to a Group of Snaps, select the Map option in the top right menu in the Dashboard.
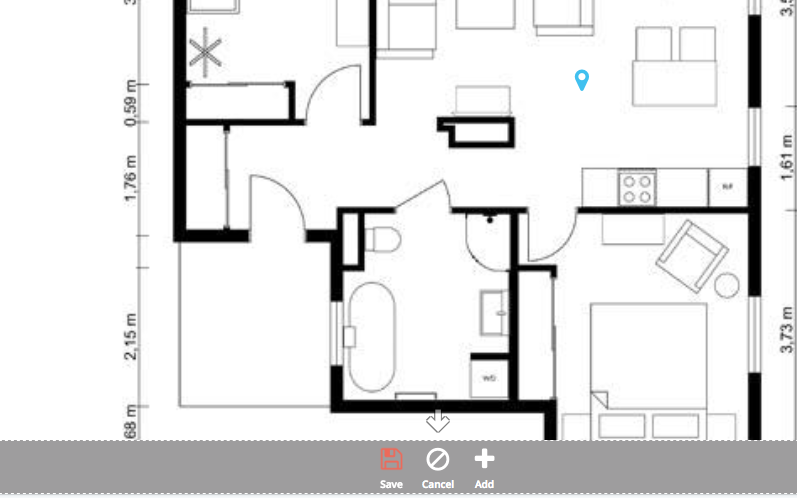
From here, you can upload a Map just like you would a photo. This Map will now automatically appear in the menu options for all Snaps in the Group.
You can even taking things further by adding in hotspots to the map itself so that users can jump around the house using the map, rather than the hotspots.
Don’t forget that you can add multiple maps to cover different floors, locations etc. Your viewers will be able to select the different Maps while viewing your Snap.

Rennie Wong says:
Hello SeekBeak
can you tell me does your 360 tour convert to 2d floor plan or you have to upload your own floor plan?
Tim Allan says:
Hi Rennie, you can upload your own floor plans as flat images. Floor plans need to be exact, and generating them tends not to be.
John says:
Hi Tim,
Is it possible to generate a less than perfect floor plan and then use a bluetooth enabled laser to make them closer to perfect?
Tim Allan says:
Floorplans are simply 2d image files that you upload, you can replace them at any time, or not even use any to start with as they’re totally optional.
Jessica says:
I always look forward to reading your articles. You obviously put a lot of effort into this post, and I appreciate that